Install & setup guide
Two parts: fitting the board in the iPod, then restoring the iPod so it boots from the new storage. The restore step depends on which computer you sync with; pick your OS below.
Part 1: Install the board
You will need
- The Sphinxmoth board.
- A CF Type I card with UDMA support, up to 128 GB (or a Type I UDMA CF-to-SD adapter and an SD card). See the card compatibility list for what qualifies and what to avoid.
- A thin plastic pry tool or guitar pick for opening the case.
- A computer with FireWire and the iPod's FireWire cable. Which Macs and PCs qualify is covered in Part 2.
You are opening a 25-year-old device. Work slowly, and accept that the chrome back will pick up a scratch or two no matter how careful you are. Installation is at your own risk.
- Unplug the iPod from the FireWire cable.
- Open the case. This is far easier to watch than to read about: search YouTube for a 1st or 2nd generation iPod opening video and follow along.
- Carefully unplug the battery connector so nothing is powered while you work. The wires are thin; pull on the connector, not the wires.
- Disconnect the original hard drive: lift the drive, then gently free the wide ribbon cable from the drive's connector. Keep the rubber shock bumpers and set the drive aside; nothing about this is one-way, and the drive goes back in the same way if you ever want it.
- Fit your CF card (or adapter and SD card) into the Sphinxmoth until it seats fully.
- Plug the ribbon cable into the Sphinxmoth. The connector is not keyed, so check the orientation before pressing it home: pin 1 is clearly marked on the board, and the side marked "THIS SIDE FACES Logic Board" faces down into the iPod, so the CF card faces the chrome back.
- Plug the battery back in, seat the board in the drive bay, and close the case: hook one long edge of the chrome back in first, then press the clips home along the other side.
When you press a button now, the iPod will show a folder or "sad iPod" icon, or boot straight to disk mode. That is expected: the new card is blank, and Part 2 puts the software on it.
Part 2: Restore & set up the iPod
The iPod's software lives on the storage you just replaced, so the first job is a restore: iTunes (or Finder on newer macOS) writes fresh firmware onto the card over FireWire, the iPod flashes itself, and from then on it behaves like a stock iPod. One thing to decide up front: restore from the same platform you plan to sync with. A Mac restore formats the iPod for Mac, a Windows restore formats it for Windows, and moving between the two later means another restore.
What the iPod's own screen shows
The sequence on the iPod is the same on every OS. During and after the restore you will see, in order:
- A checkmark with "OK to disconnect." The computer has finished writing to the card. Note the lightning bolt on the battery icon: the FireWire port is powering the iPod, which it needs for what comes next.
- A FireWire plug with an arrow: the iPod itself is asking you to unplug the cable. Unplug it.
- The screen goes blank for a moment. That is normal.
- Plug it back in. The Apple logo appears with a progress bar while the iPod installs its software onto itself. Leave it plugged in and untouched until the bar finishes and it reboots to the menu.
Which computer will you set the iPod up with?
Mac OS X Snow Leopard (10.6)
On Snow Leopard the iPod is a first-class citizen and iTunes does everything. This is the era the iPod shipped in, and the easiest place to set one up if you have an old Mac around.
- Connect the iPod over FireWire. iTunes opens and reports that the iPod needs to be restored.
- Select the iPod in iTunes and click Restore. Confirm when it warns that everything on the iPod will be erased.
- When iTunes says the restore is complete, unplug the iPod and plug it back in. It finishes installing its software, then reboots to the menu.
- Name your iPod when iTunes greets it, and sync your music. With "Enable disk use" checked, the iPod also mounts on the desktop as a FireWire disk.
macOS High Sierra (10.13)
High Sierra still has iTunes (12.8), and iTunes still knows how to restore a 2001 iPod. The whole job happens there.
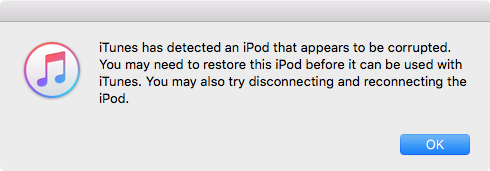
- Connect the iPod over FireWire. iTunes notices it and warns that the iPod appears to be corrupted. That is exactly right: the new card is blank. Click OK.
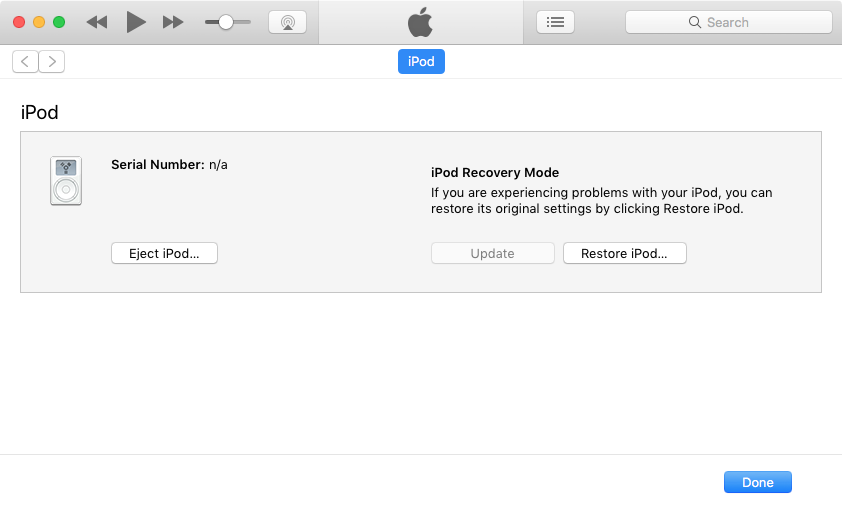
- iTunes opens the iPod's device page showing iPod Recovery Mode. Click Restore iPod…
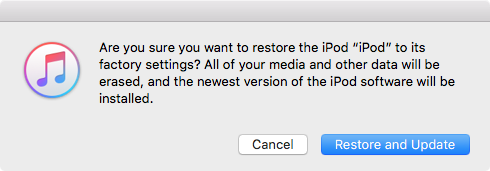
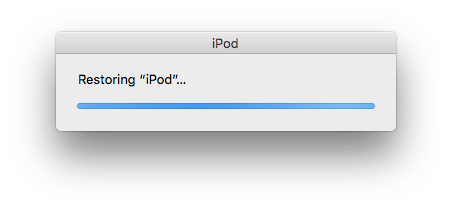
- Confirm with Restore and Update. iTunes fetches the iPod software and writes it to the card.
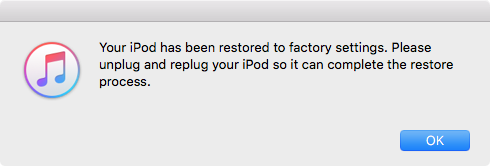
- When iTunes says the iPod has been restored to factory settings, unplug it and plug it back in so it can finish (the iPod walks you through the same thing on its own screen; see the sequence above).
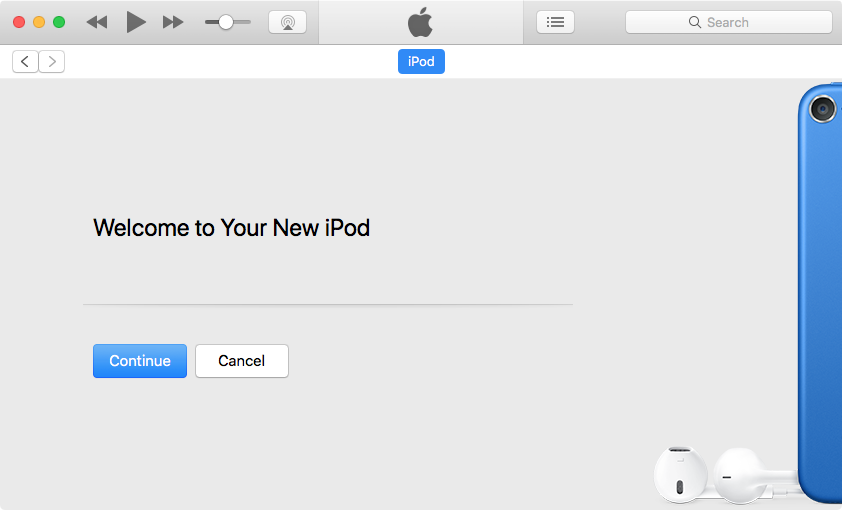
- After the replug, iTunes greets you with Welcome to Your New iPod. Continue, name it, and sync your music.
macOS Catalina (10.15)
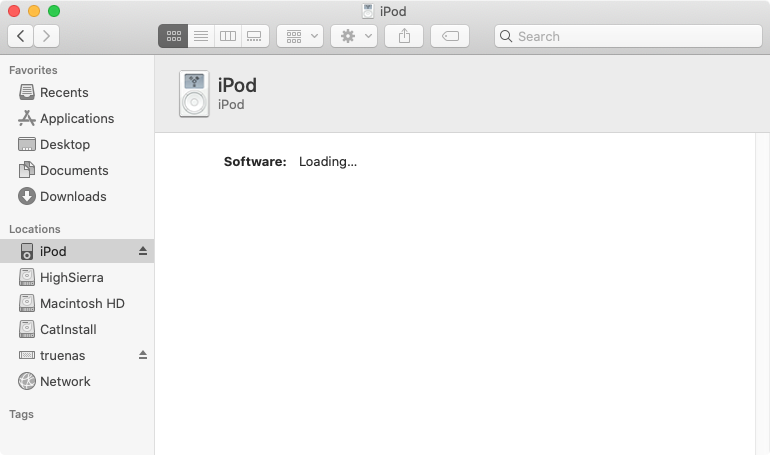
Starting with Catalina, iPod update and restore moved out of iTunes and into Finder, and Finder can still restore this iPod. One extra step is needed first: with a factory-blank card the iPod has no volume macOS can mount, so Finder sits at "Software: Loading…" forever. Erasing the card in Disk Utility gets things moving.
- Connect the iPod over FireWire. Finder shows the iPod in the sidebar, but with a blank card the Software line never finishes loading. That is your cue for the next step. (If Finder instead offers Restore right away, skip to step 5.)
- Open Disk Utility. Under External there is an unmounted FireWire volume matching your card's size; that is the iPod's storage.
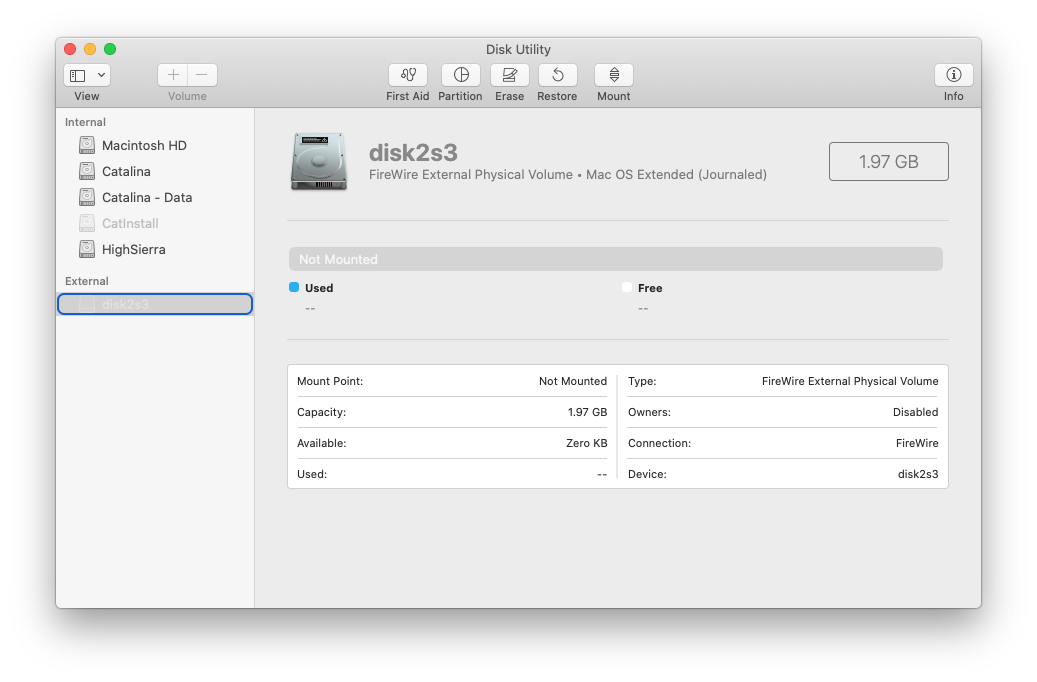
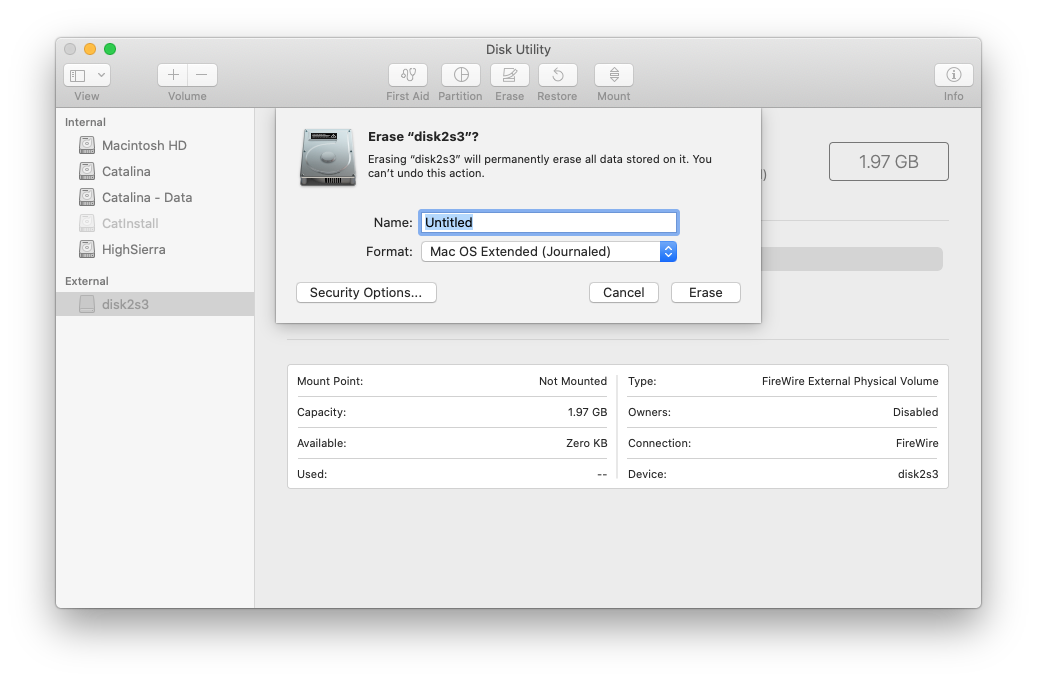
- Right-click that volume and choose Erase… Set the format to Mac OS Extended (Journaled); the name does not matter, the restore replaces it anyway. Then click Security Options… and move the slider one notch up from Fastest, so the erase writes over the whole card instead of just replacing the directory. A quick erase can leave stale data on the card that confuses the restore; the overwrite guarantees a clean slate. Budget time for it: minutes on a small card, hours on a big one.
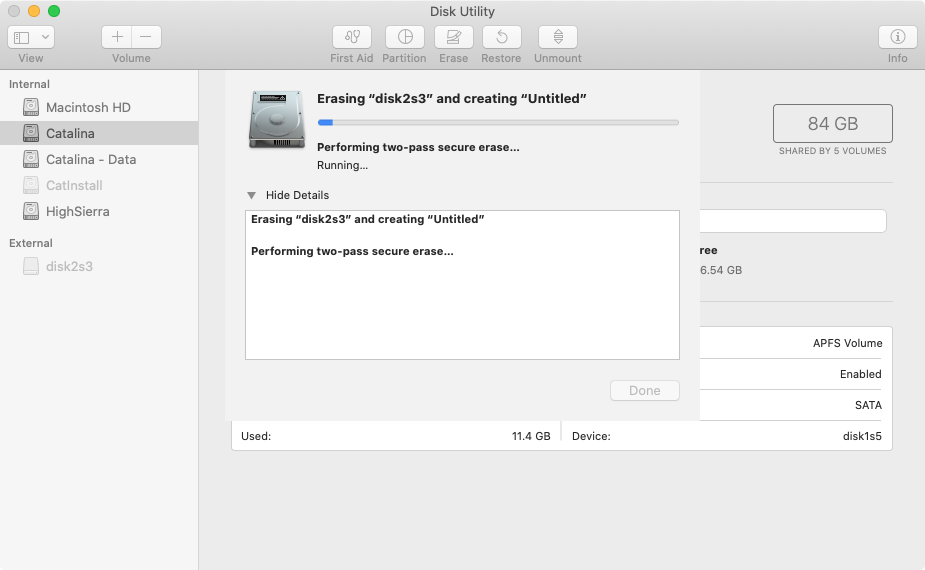
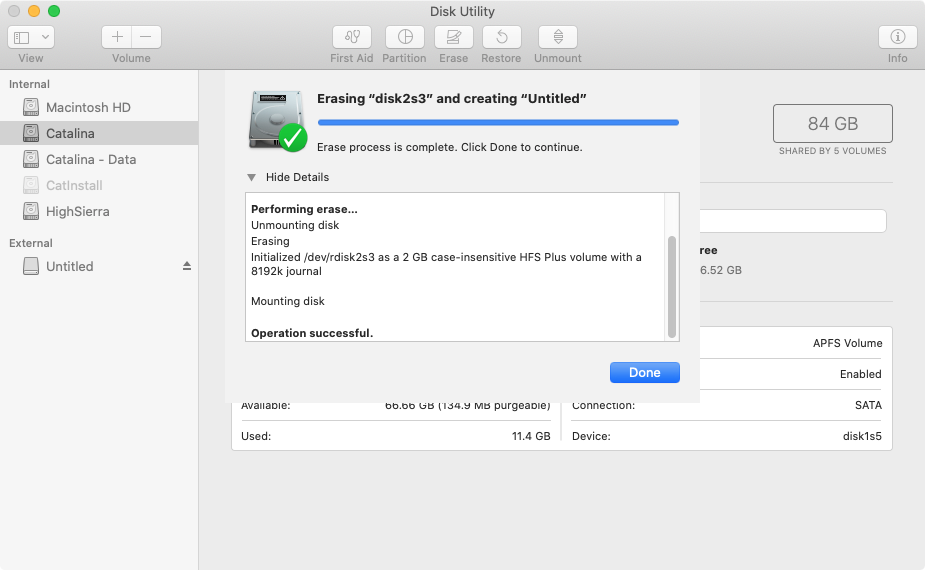
- Let the secure erase run, wait for "Operation successful", and click Done.
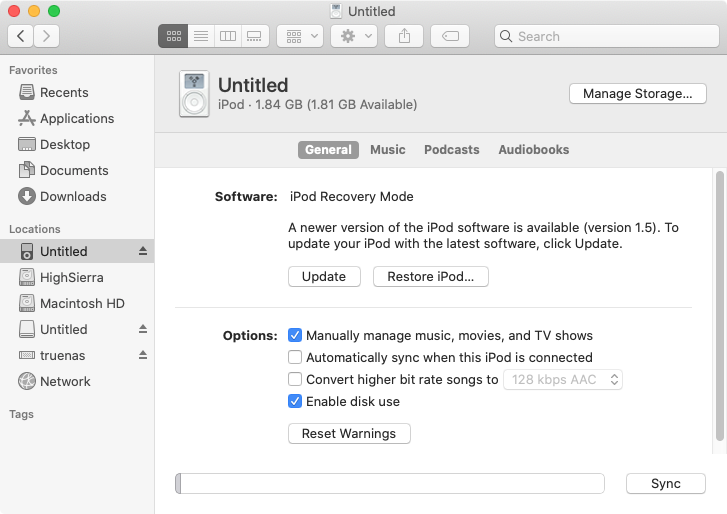
- Back in Finder, select the iPod. It now reports iPod Recovery Mode and offers the iPod software. Click Restore iPod… (or Update) and confirm.
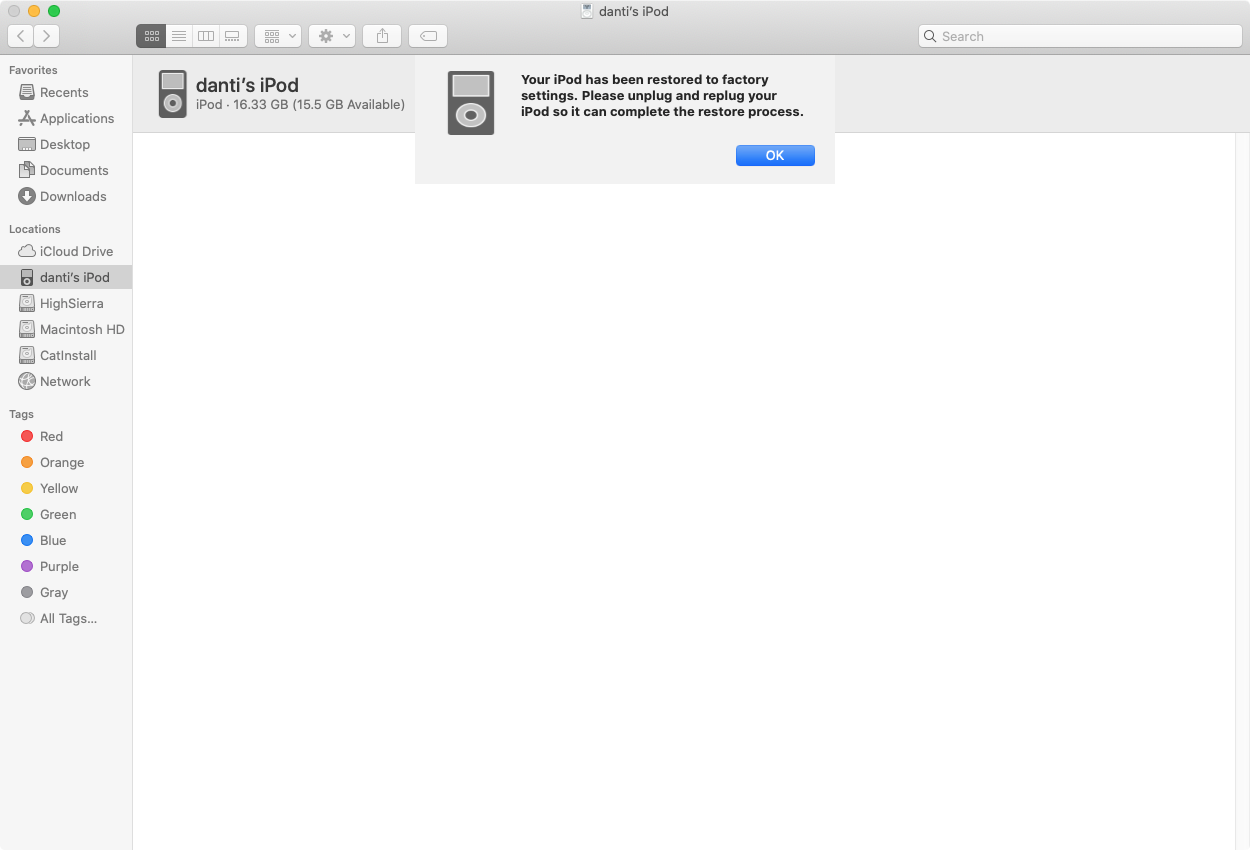
- When Finder reports the iPod has been restored to factory settings, unplug it and plug it back in so it can finish (the iPod walks you through the same thing on its own screen; see the sequence above).
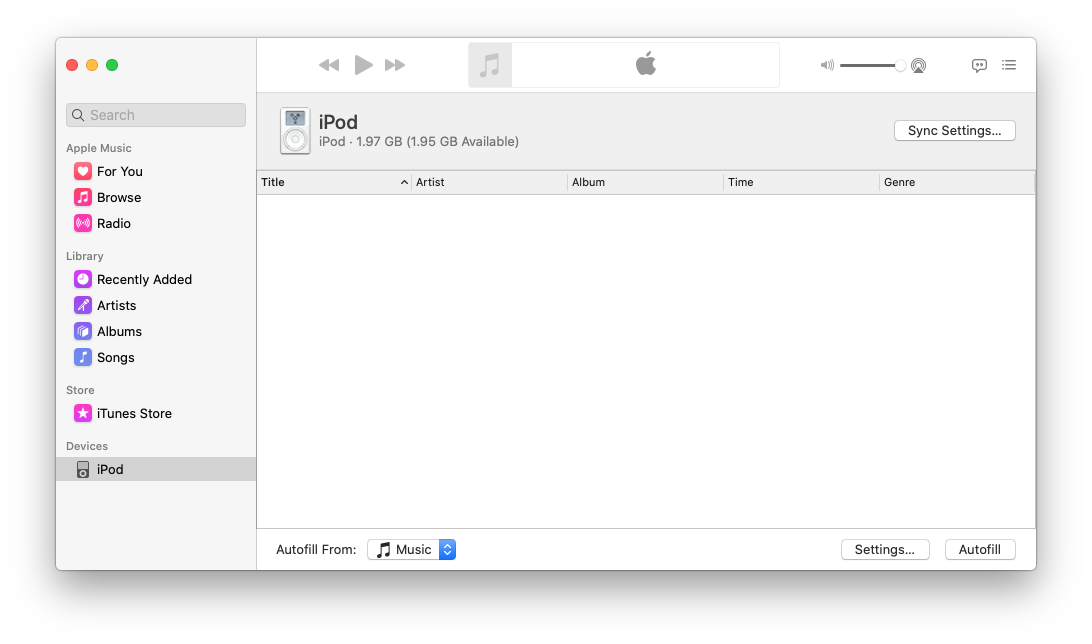
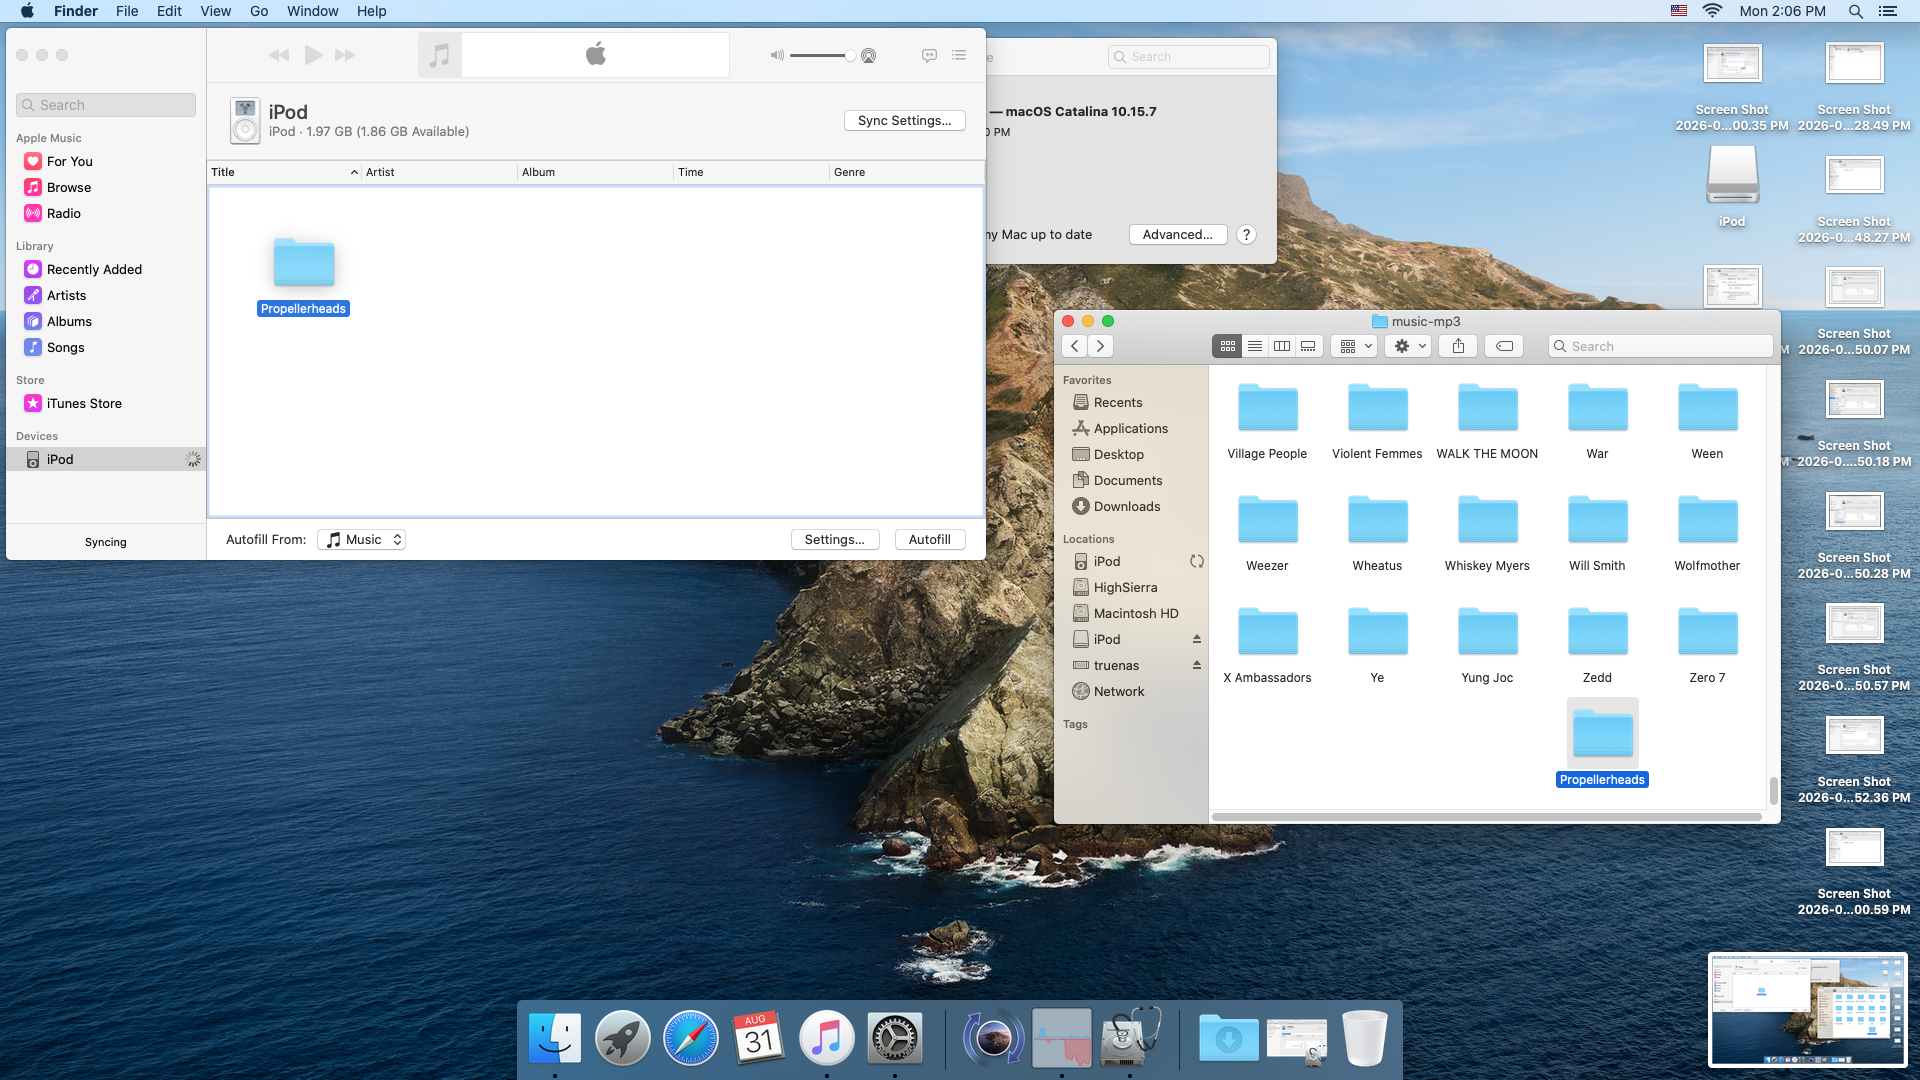
- Sync music from the Music app. With "Manually manage music" enabled in the iPod's Finder settings, the iPod appears under Devices in Music, and you can drag songs or folders straight onto it, or use Autofill.
Windows
Windows works; we test on Windows 11 with an ordinary PCIe FireWire card. Two things trip people up: the iTunes version matters, and Apple's old stand-alone "iPod Updater" utility must stay off the machine.
- Install iTunes 12.6.5.3, not the newest and not an older 12.1. Newer and older versions read the iPod, reject it, and eject it; 12.6.5.3 handles it properly.
- Do not install "iPod Updater", and uninstall it if you have it. On old Windows that utility was the normal restore path, but on modern Windows it can never finish (it waits forever for a lock on the iPod's disk that Windows no longer grants), and having it installed makes iTunes complain that the software needed to manage iPods is missing. iTunes alone is the working combination.
- Connect the iPod to your FireWire card. If your card has an Molex power connector, plug it in: the iPod needs bus power to charge and to finish a restore.
- If the iPod does not appear in iTunes, run our detection helper and reconnect. This is normal with a brand-new card: on Windows, iTunes recognizes an iPod by what is on its storage, and a blank card has nothing for it to read. The helper writes the structure iTunes expects.Download iPod Flash Restore 1.1.4 (Windows)
Needs administrator, and it erases the card it prepares, so check that the iPod it names is the right drive before you confirm. Install iTunes first, and leave the card in the iPod: this version does not prepare a loose card in a reader.
Windows will warn that the publisher is unknown. Choose More info, then Run anyway.
SHA-256 48b23db5dc66fff1622e9c04e5dda6a46a50d5509bdd5e2d4469a74e08ae0743
- iTunes offers Restore; confirm and let it run, then unplug and replug the iPod when asked (the iPod walks you through it on its own screen; see the sequence above).
- Name the iPod and sync your music.
Troubleshooting
- Folder-with-exclamation icon on the iPod after installing the board. Normal. The card is blank; the icon goes away after the restore in Part 2.
- Finder or iTunes never finishes "loading" the iPod, or does not offer Restore. The blank card has no volume for the computer to grab. Erase the iPod's volume as Mac OS Extended (Journaled) in Disk Utility with Security Options one notch up, so the card is fully overwritten (see the Catalina section), then reconnect.
- iTunes error 1418 during restore. Same root cause: iTunes could not lock a volume on the card. Format the card as above and try again.
- iTunes on Windows ejects the iPod seconds after you plug it in. Wrong iTunes version. Only 12.6.5.3 keeps a FireWire iPod connected; see the Windows section.
- iTunes on Windows runs fine but the iPod never appears in it. With a brand-new card there is nothing on the iPod's storage for iTunes to recognize. Run the detection helper from the Windows section and reconnect.
- iTunes complains the software needed to manage iPods is not installed. The old "iPod Updater" utility is installed and is conflicting with iTunes. Uninstall it and restart iTunes.
- The restore finishes but the iPod still shows the folder icon. The iPod never got the power it needs to flash its firmware after the replug. Connect it to a powered FireWire port (or plug in your FireWire card's Molex power) and restore once more.
- The iPod shows no artists, albums or songs at all, or some are missing. The library is too large for the iPod's memory. These models build the whole index in RAM, so the ceiling is not really a track count: every unique artist, album and title is text that has to fit. Around 9,000 tracks is the practical limit, but a library with a lot of unique albums will hit it sooner, and a few thousand tracks from one artist will not. Sync less and the menus come back. Rockbox builds its database differently and may raise the ceiling.
- Rockbox reports
ATA error: -11or-32, or Rockbox 4.0 stops at boot withData abort. Rockbox drives the storage on a timing meant for the original hard drive. Install Rockbox 4.0 normally, then download our patched build for 1st and 2nd gen or 3rd gen, rename it torockbox.ipod, and copy it over.rockbox/rockbox.ipodon the iPod, replacing the file there. The 3rd gen build is not yet tested on hardware. Checksums, the patch and what it changes are in sphinxmoth-rockbox.
Stuck? Email orders@wunkuslabs.com and a real person will help.